The DevLyft platform, end to end.
DevLyft is a Platform-as-a-Service (PaaS) for DevOps automation, cloud hosting, and application deployment. Bring a Docker image, or connect GitHub Actions — the DevLyft dashboard handles the build, the deployment, the compute, the secrets, and the domain.
Where we are today
Build → deploy → scale and per-second usage billing are working now. We're onboarding early users and hardening multi-location autoscaling ahead of general availability.
A platform we built and operate — not a reseller, not an agency.
DevLyft is a technology company. The product is software we wrote and run ourselves: a dashboard, an API, and the automation underneath it.
Our own software
DevLyft is a proprietary platform, built in-house. It is not a reseller storefront in front of someone else's cloud console, and not a managed-services or consultancy engagement.
Everything through one dashboard
Organisations, projects, builds, deployments, compute, secrets, domains, usage and billing — all managed from the DevLyft dashboard, not a patchwork of scripts and support tickets.
Built for developers shipping code
Bring an existing container image, or connect GitHub Actions. DevLyft takes it from there — building, deploying, and running it on infrastructure you don't have to provision by hand.
From code to a running application.
One request path, start to finish — with platform services like secrets, organisations, usage and billing running underneath every stage.
GitHub repo or Docker image
What you already have
DevLyft Platform
Organisation → Project → Environment
Build
Container image + resource request
Deployment
A build, running in an environment
Shared Compute
Pooled capacity
Isolated Compute
Dedicated node
Domain / Application
Live and reachable
From an empty organisation to a running application.
This is the actual path a new DevLyft user follows in the dashboard. Screenshot placeholders below are marked for the real dashboard UI.
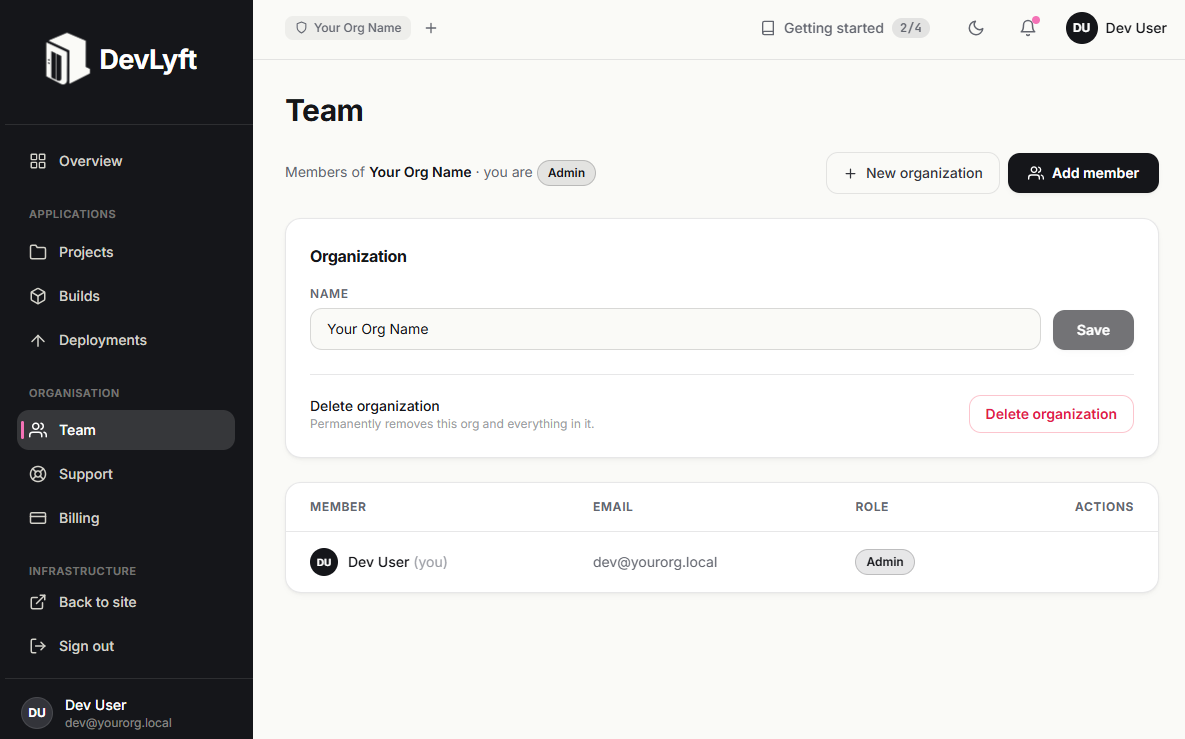
Create an organisation
Every workspace on DevLyft starts with an organisation. It's the top-level container for your work — it groups your projects, your teammates, and your billing. You become its admin the moment you create it.
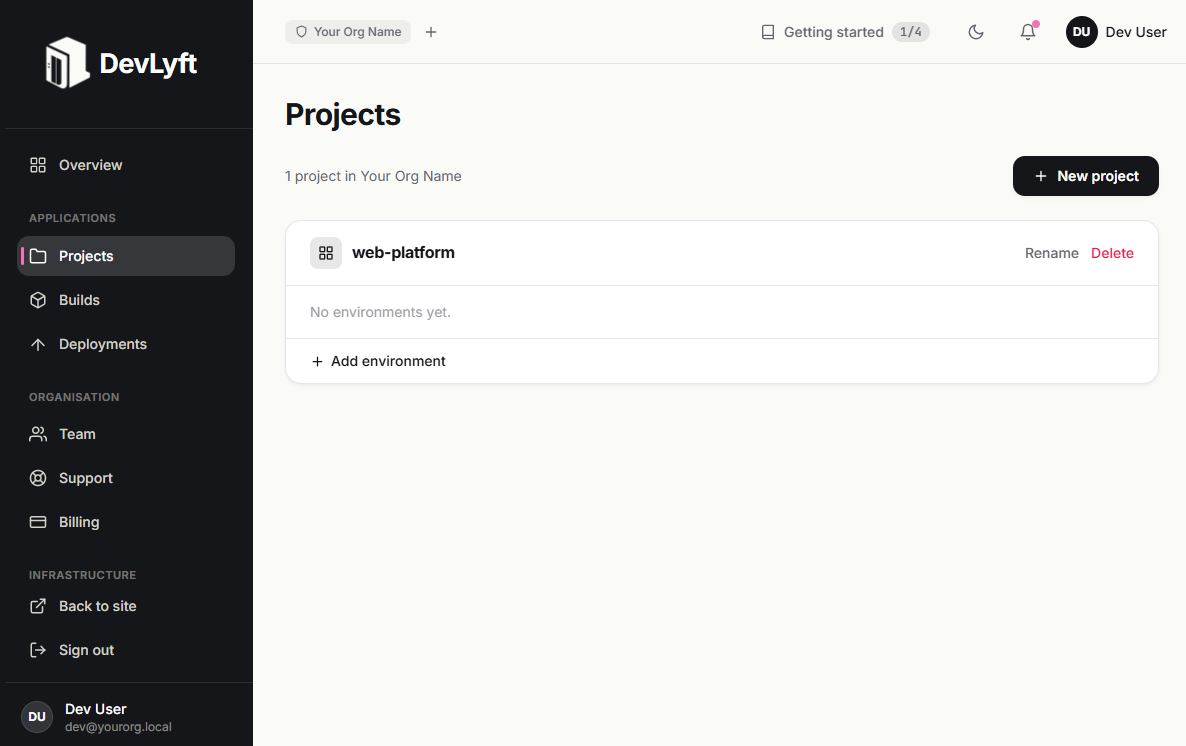
Create a project
Inside an organisation, applications and services are managed as projects. A project groups the environments — production, staging, and so on — that make up one application.
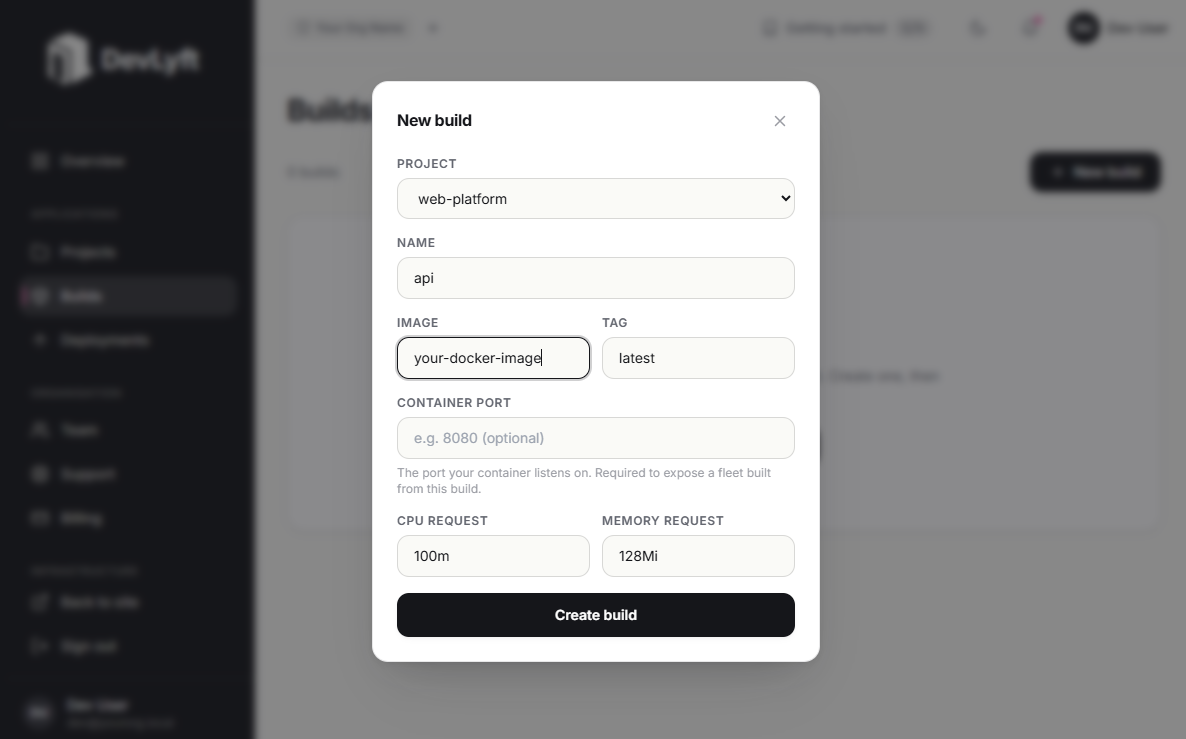
Bring your application to DevLyft
Add your application as a build — a container image plus the CPU and memory it needs to run. There are two ways to get it onto the platform:
Already building containers? Push an existing Docker image straight into a DevLyft project as a build.
Prefer to ship on push? Connect your repository and use DevLyft's GitHub Actions integration to build and deploy your application stack from your existing workflow.
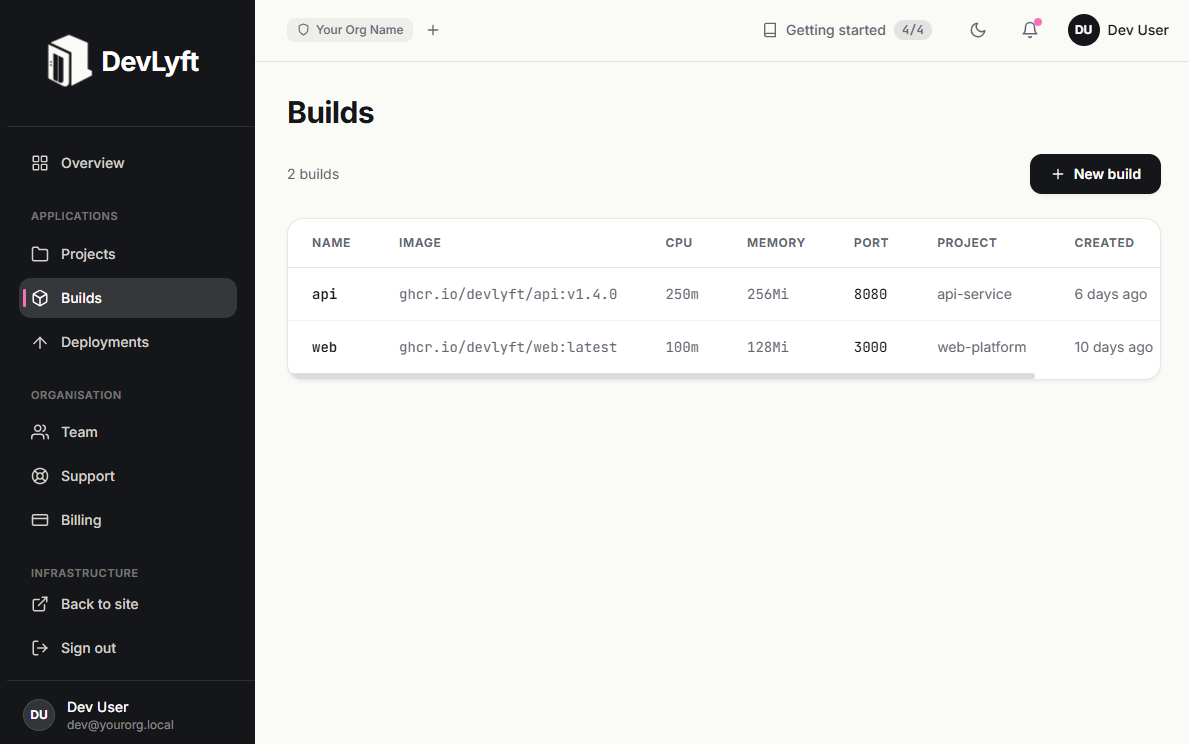
Build
DevLyft turns your build into something deployable. Track the state of every build — in progress or complete — from the dashboard.
Deploy
Deploy a build into an environment. Manage every running deployment — start, stop, update, redeploy — directly from the dashboard.
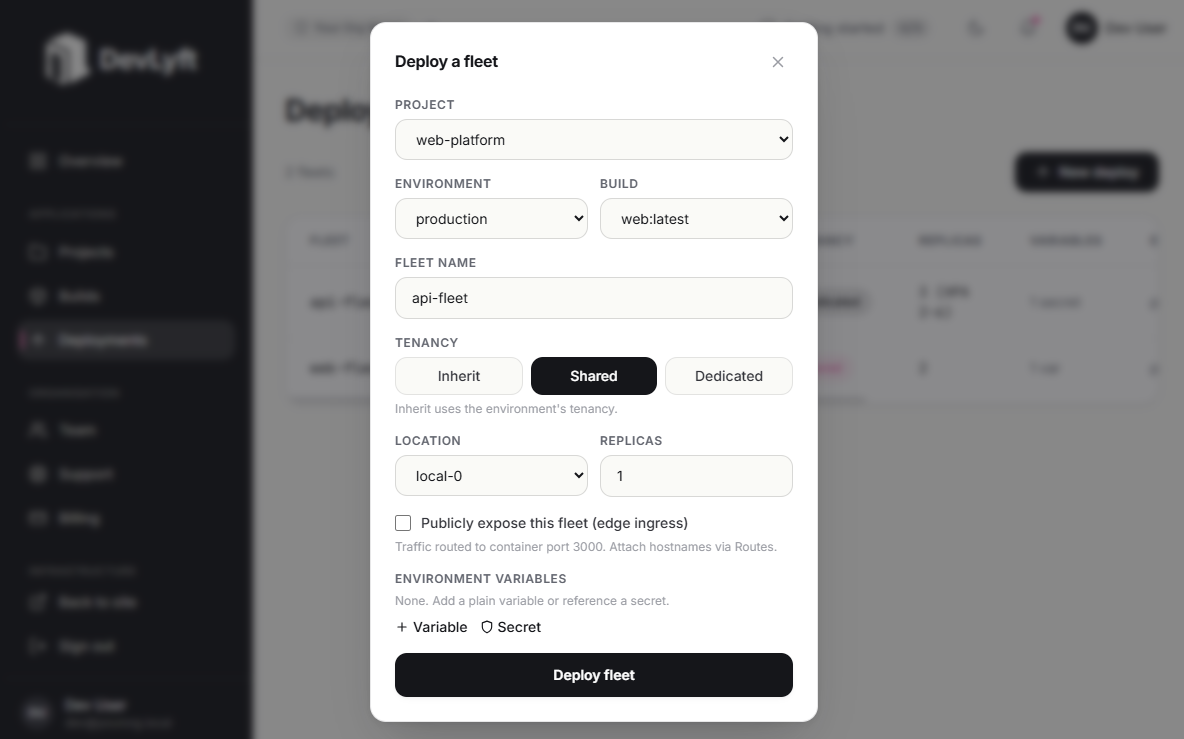
Select compute
Every environment picks Shared or Isolated compute when it's created — pooled capacity for cost efficiency, or a dedicated node for predictable, isolated performance. See the full comparison below.
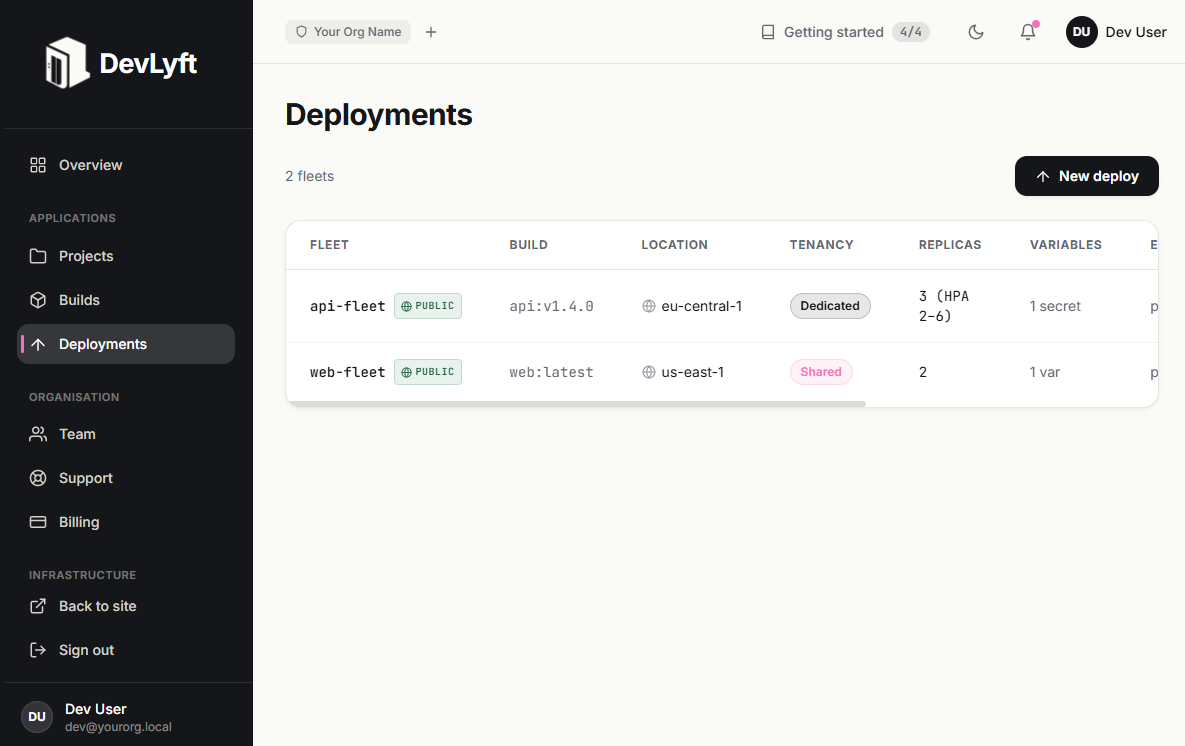
Configure secrets
Store the environment variables and secrets your application needs — database URLs, API keys, credentials — scoped to a project and environment, and reference them directly from your deployments.
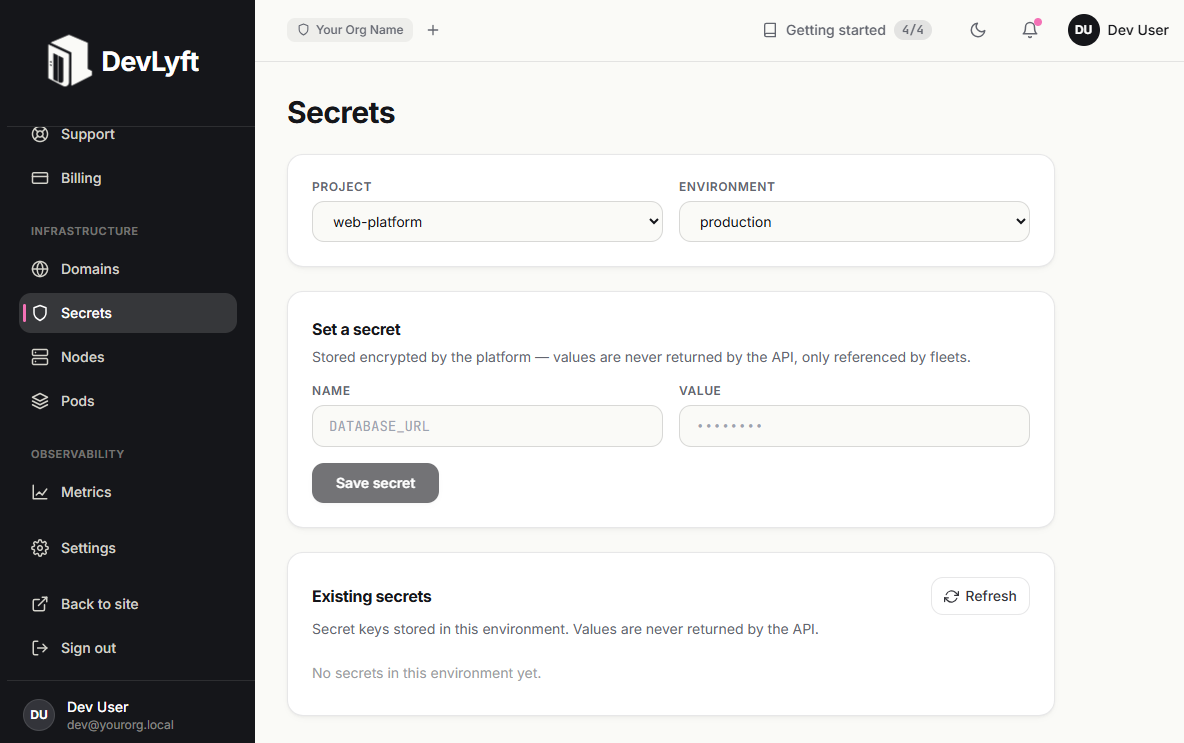
Configure a domain
Claim and manage the domain your application runs on directly from the DevLyft dashboard, and route it to a deployment.
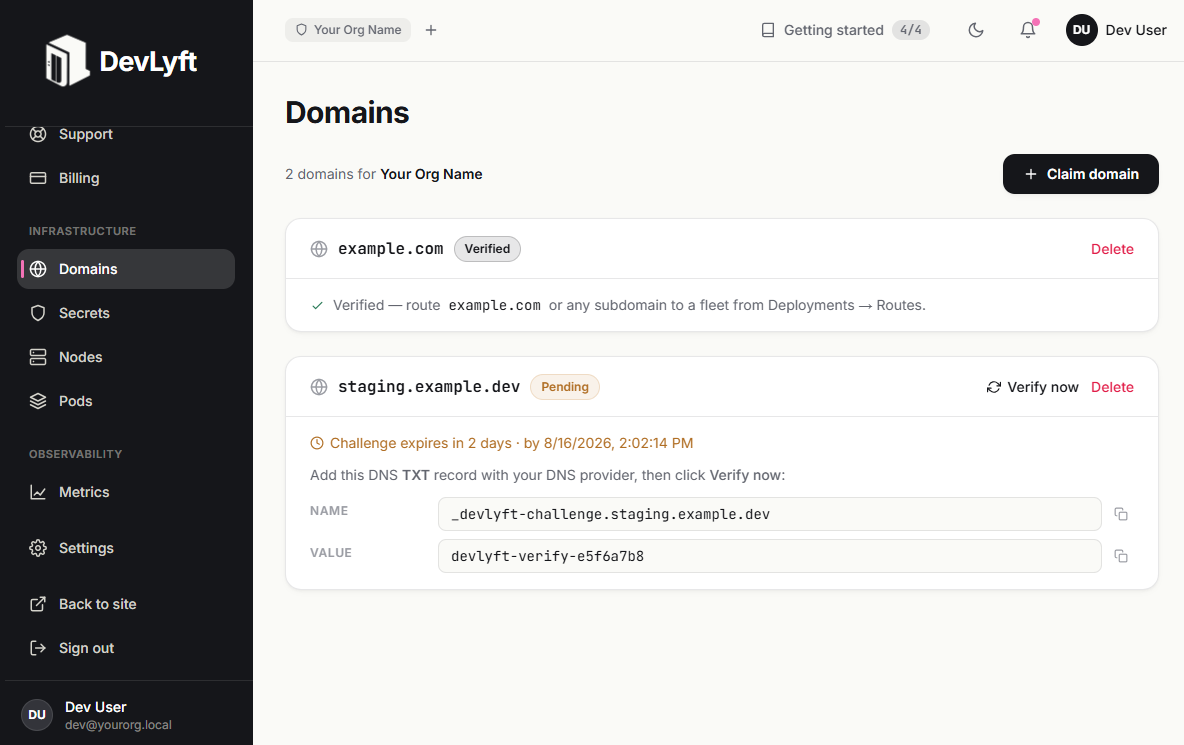
Monitor and manage
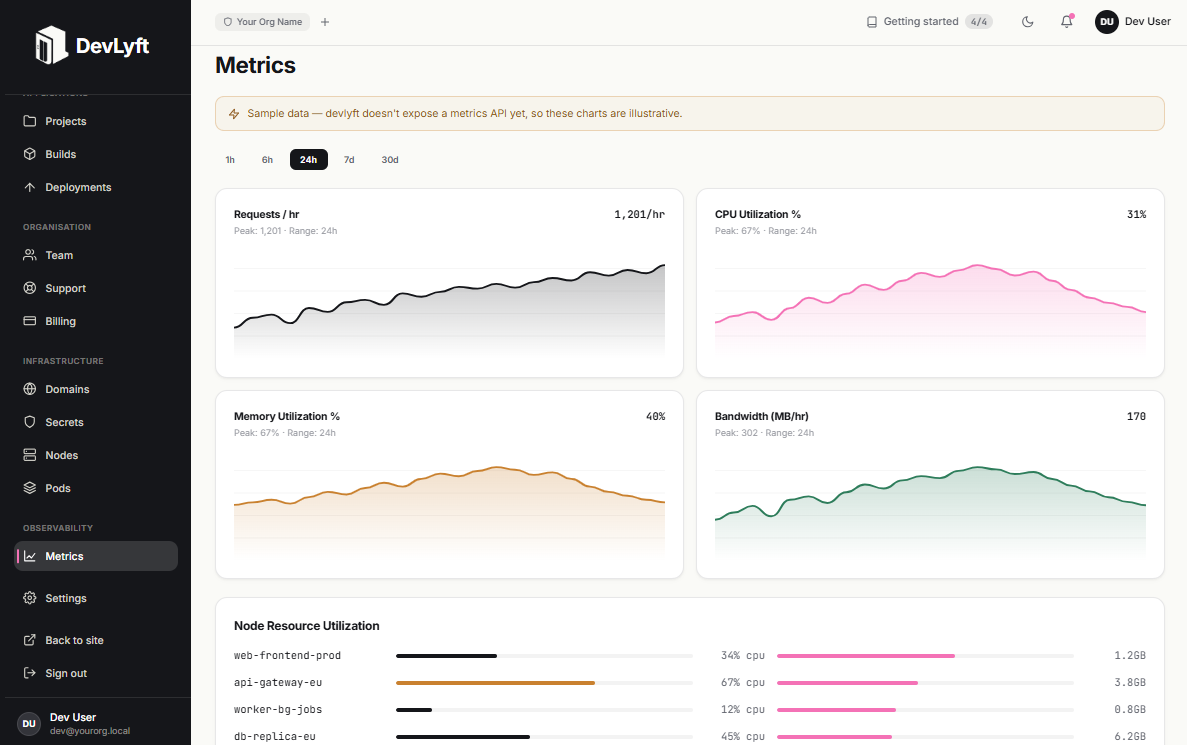
Keep track of what's running and manage it directly — builds, deployments, and infrastructure state, all from the same dashboard you used to ship it.
Understand usage and billing
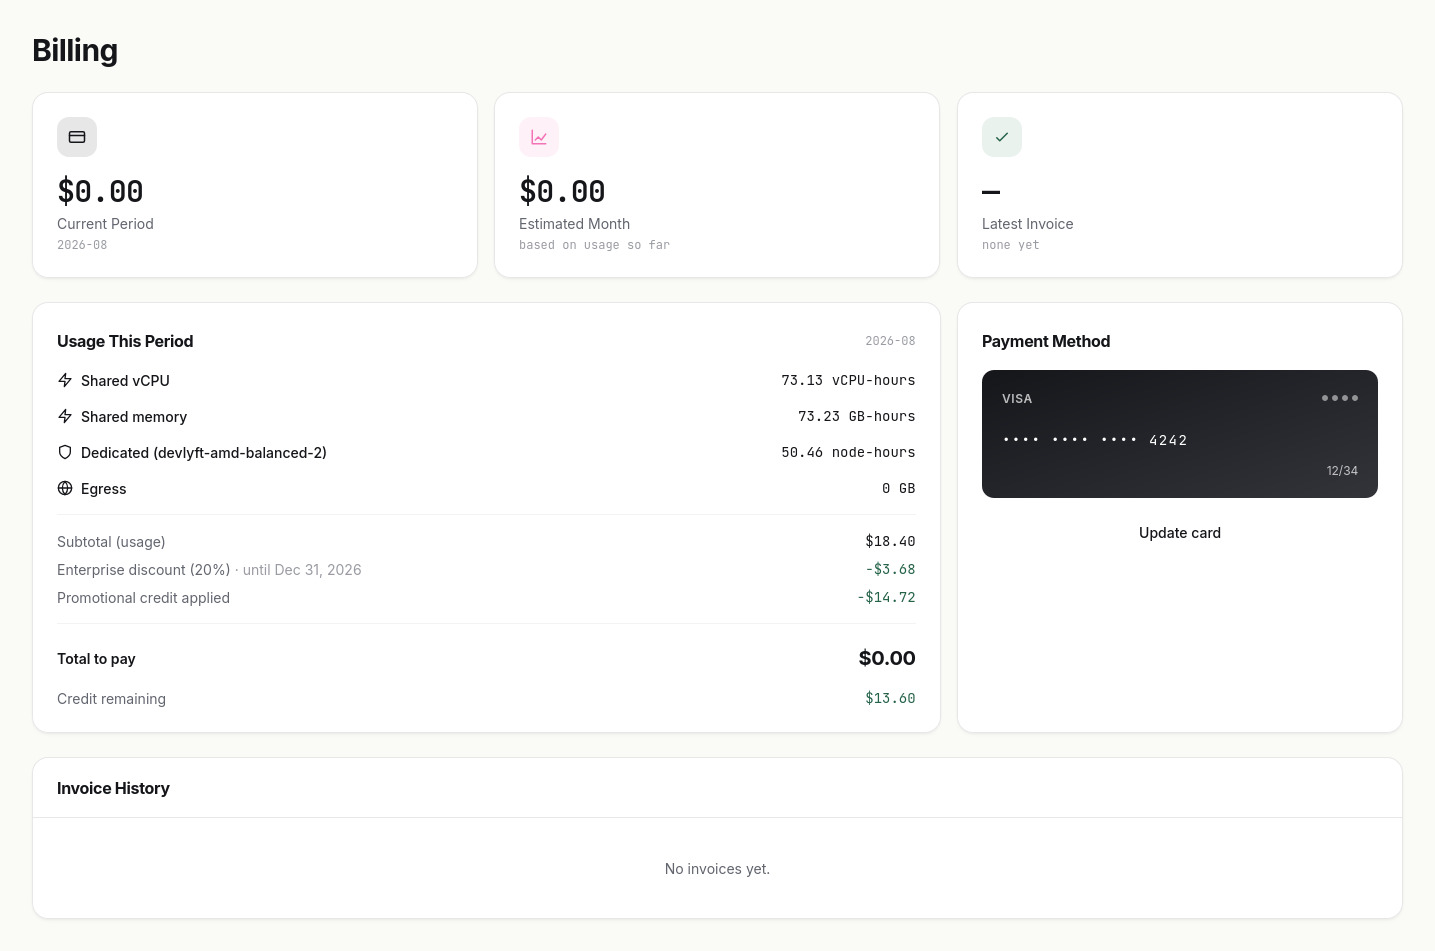
Organisations are billed monthly for what's running — the resources assigned to active shared-compute workloads, and any isolated nodes provisioned. See a breakdown from the Billing page in your organisation.
Shared Compute vs. Isolated Compute.
Two ways to run workloads on DevLyft, priced differently. Choose per environment, and change your mind later.
Pay for what's running
You configure an amount of compute for your workload — for example 2 CPU cores, 0.1 CPU cores, or a specified amount of RAM — running on infrastructure shared with other tenants. You pay for the resources assigned to your running workloads.
- Web apps, APIs, and bursty workloads
- Workloads that can scale down when idle
- Staging, preview & internal tools
Pay for the node
Provision your own isolated node — a dedicated slice of infrastructure with a defined CPU and RAM capacity that your organisation's workloads run on. You pay for the node itself, not per-millisecond execution.
- Production services that need predictable performance
- Databases & other stateful workloads
- Workloads that shouldn't share a node with anyone else
Because billing follows what's actually running, a shared-compute workload's own infrastructure cost can reach $0 once it's fully stopped — though an organisation's total bill may still reflect other running workloads, seats, or plan costs. Full technical comparison →
User → Organisation → Projects → Builds, Deployments & Workloads.
Users create organisations. Organisations are the billing entity — invoiced monthly for the platform usage of everything inside them.
Organisation seats
Organisations pay per seat for the members on them. Running a large organisation? Contact us to discuss volume discounts.
Platform plans
DevLyft's platform capabilities are grouped into Free, Plus, and Enterprise tiers — separate from compute billing above. Talk to us about plans →
Watch the platform in action.
A short walkthrough of the DevLyft dashboard, from an empty organisation to a running, deployed application.
Deploy your first build today.
Create an organisation, bring a Docker image or connect GitHub Actions, and see the platform end to end.